
Braising is a fantastic cooking method that transforms tough cuts of meat into tender, flavorful masterpieces. However, it’s also a technique where a few missteps can lead to disappointing results.\
Mistake 1: Not Browning the Meat Properly
One of the most crucial steps in braising is searing the meat before adding liquid. This isn’t just about colour; it’s about developing deep, complex flavours through the Maillard reaction.
- The Mistake: Skipping the sear or overcrowding the pan, which causes the meat to steam rather than brown.
- The Fix: Brown the meat in batches over medium-high heat until a deep, golden-brown crust forms on all sides. Don’t rush this process. This step builds the foundation for rich flavor and a beautiful finished product.
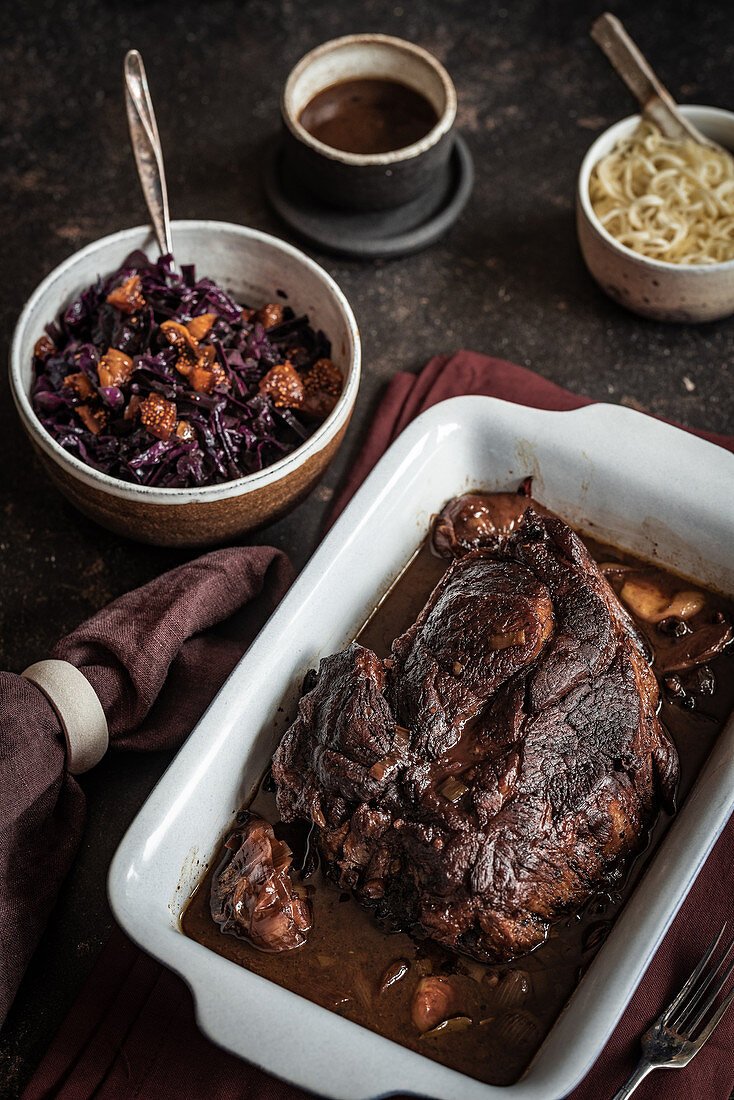
Mistake 2: Using the Wrong Liquid
The braising liquid is key to infusing flavour and keeping the meat moist. Using a bland or inappropriate liquid can result in a lacklustre dish.
- The Mistake: Relying solely on water or a weak broth.
- The Fix: Opt for flavorful liquids like stock (beef, chicken, vegetable), wine, beer, or even tomato juice. For an exceptional flavour profile, consider a rich beef stock or a combination of wine and stock. For an idea of how liquid can transform a dish, explore the art of Chinese braised pork belly.
Mistake 3: Braising at Too High a Temperature
Braising relies on slow, gentle cooking. High heat can toughen the meat and cause the liquid to evaporate too quickly.
- The Mistake: Simmering the braising liquid vigorously on the stovetop or setting the oven too high.
- The Fix: The braising liquid should only barely simmer, with just a few gentle bubbles rising to the surface. This can be achieved at a low temperature on the stovetop or in an oven set between 300°F (150°C) and 325°F (160°C). The U.S. Department of Agriculture recommends maintaining safe cooking temperatures to prevent bacterial growth, and slow, steady heat is essential for braising. ²
Mistake 4: Not Enough Liquid
Insufficient liquid means the meat can dry out during the long cooking process, defeating the purpose of braising.
- The Mistake: Not ensuring the liquid comes at least halfway up the sides of the meat.
- The Fix: Check the liquid level periodically during cooking. If it gets too low, add more hot braising liquid (stock, water, etc.) to maintain the desired level. The goal is to gently cook the meat in moisture, not bake it dry.
Mistake 5: Rushing the Cooking Time
Patience is a virtue when it comes to braising. Tougher cuts of meat require time to break down and become tender.
- The Mistake: Pulling the meat out before it’s fork-tender.
- The Fix: Braise until the meat is exceptionally tender and easily falls apart when prodded with a fork. This can take anywhere from 1.5 hours for smaller cuts to 3-4 hours or more for larger roasts. For a deeper dive into cooking science, resources like Serious Eats offer excellent explanations.
Conclusion
Mastering braising is within reach with these simple adjustments. By focusing on proper searing, using flavorful liquids, maintaining the correct temperature, ensuring adequate moisture, and allowing sufficient cooking time, you can consistently create incredibly tender and delicious braised meats. Remember, cooking is a journey, and learning from common pitfalls is part of the process, as culinary experts highlight on platforms like Food & Wine.
Frequently Asked Questions
Q1: What is the best type of pot for braising? A heavy-bottomed pot with a tight-fitting lid is ideal. Dutch ovens are particularly popular for their ability to retain heat evenly.
Q2: Can I braise meat in a slow cooker? Yes, a slow cooker is an excellent tool for braising. You’ll want to sear the meat and sauté aromatics on the stovetop first for best flavor development, then transfer everything to the slow cooker.
Q3: How do I thicken my braising liquid into a sauce? After removing the meat, you can strain the braising liquid, skim off excess fat, and then simmer it on the stovetop to reduce and thicken it. You can also create a slurry of cornstarch or flour mixed with water and whisk it into the simmering liquid.
Q4: What are the best cuts of meat for braising? Tougher, well-marbled cuts benefit most from braising. Examples include beef chuck roast, short ribs, lamb shanks, pork shoulder, and chicken thighs.
